Update your existing iOS Framework to Swift Package
For the last couple of years I’ve been managing an iOS framework created by me with small utilities that I kept reusing thought-out my projects. It’s no big deal but it’s a good exercise for me in creating and updating a framework, documenting and testing.
This framework is available on GitHub as BartisUtilities (please excuse my narcissism) but I didn’t see the need to publish it as Cocoapod or as a Carthage project, as I mostly use snippets from it, and only a single personal project imports it completely. This is no problem for a single project, to build a new version of the framework in Xcode and just replace it in the project that it’s used. But if I had to do it in multiple projects, it would be a hassle.
Enter the Swift Package Manager. Sure, it’s not new, but as we saw during this years WWDC, it got really easy to create swift packages directly from Xcode 11.
Now, this is a pretty easy and straightforward process which should take no more than 30 minutes so let’s get started.
You will of course need Xcode 11 and an existing iOS Framework.
First let’s take a look over the existing project structure

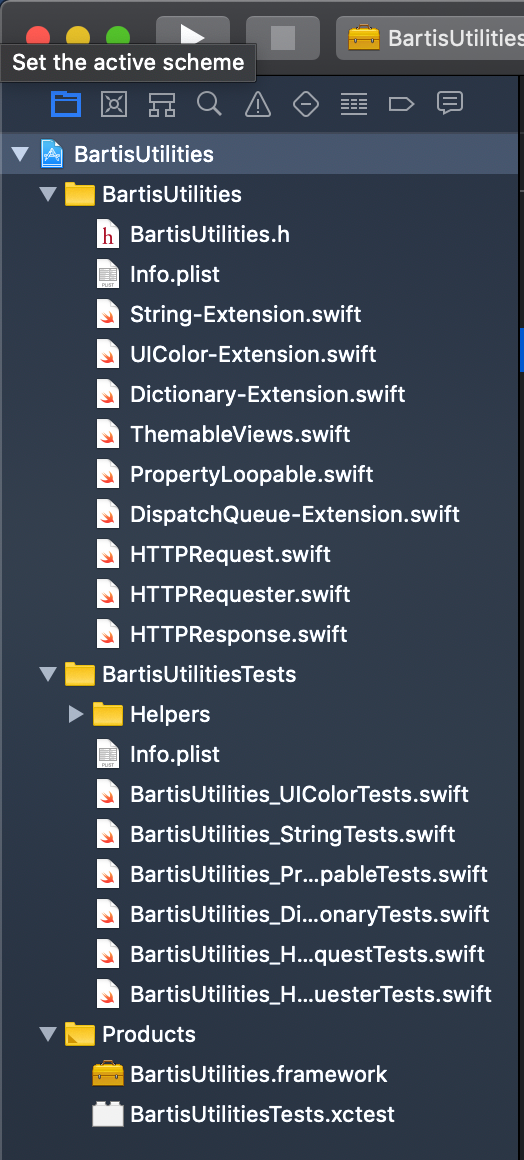
Existing project structure
You can see that it’s mostly structured into two groups: the actual source and one for unit tests. There is also a README.md in the actual folder but it’s not imported into the project, so let’s do that now, AS IT’S REQUIRED FOR A SWIFT PACKAGE.


Imported README.md
2. To make our lives easier and if it’s possible for everyone, I like to organise the project as it’s described in Apple’s official documentation, by renaming the groups to contain the actual “Package” and “Tests” words.

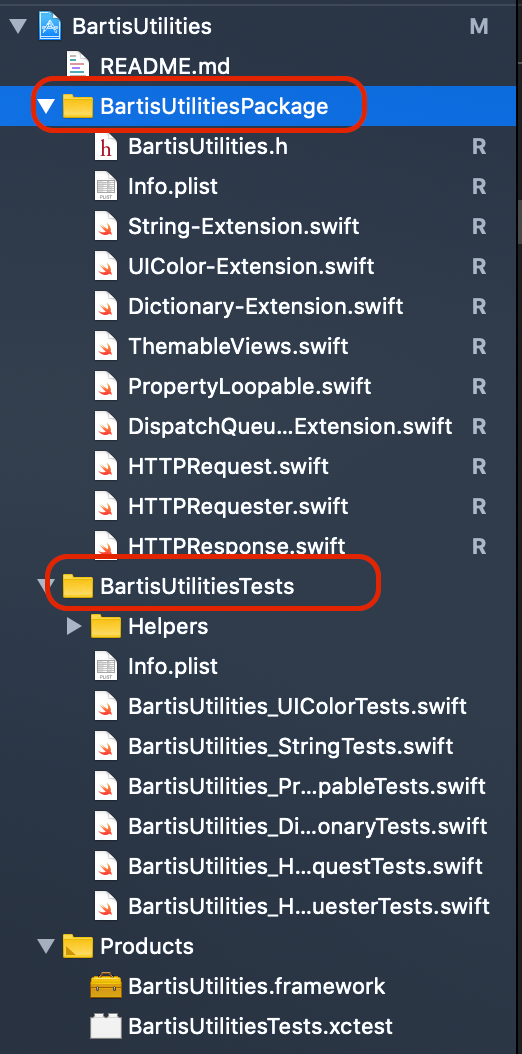
And then moving them to a Source and Testsgroup.

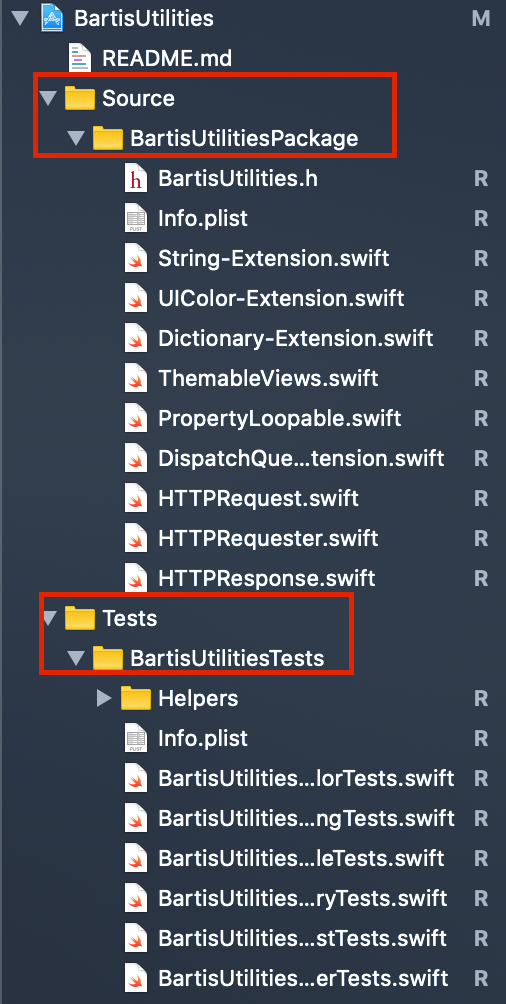
Hint: you might need to update the Info.plistpaths in the project settings.
2. Now that our structure is ready, let’s generate the manifest. Sure, we can create it manually based on Apple’s sample, but why should we when we can use the Swift toolchain to do that for us?
Open a terminal window in the root of the project and run
swift package init — type library
and you should see an output like
Alex@Maculetz BartisUtilities % swift package init — type library
Creating library package: BartisUtilities
Creating Package.swift
Creating Sources/
Creating Sources/BartisUtilities/BartisUtilities.swift
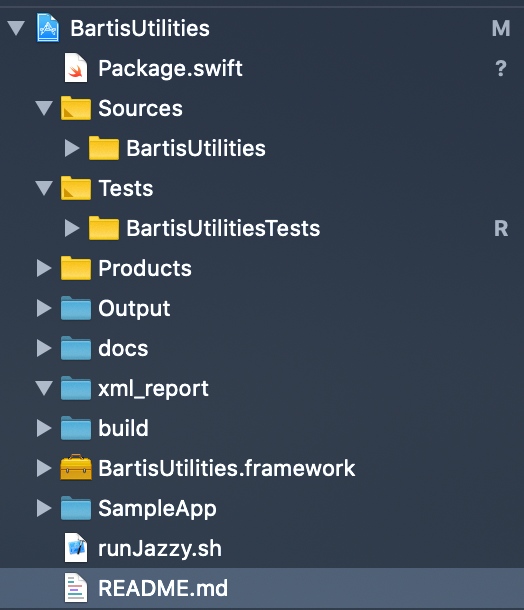
and when you look into your project you should see that Package.swift has showed up to the party.
3. At this point it’s time to close our existing Xcode cause we’re going to generate a new .xcodeproj
In the same terminal window, run
swift package generate-xcodeproj
and you should see a successful output
Alex@Maculetz BartisUtilities % swift package generate-xcodeproj
generated: ./BartisUtilities.xcodeproj
Let’s open the new project and take a look.
First thing you’ll notice is that you now have all your folders in your root mapped to the Xcode project. In my case it also added the SampleApp to the project and all the Jazzy generated documentation. It’s not an issue for me, but if it’s for you, you can clean up your project structure as normal.

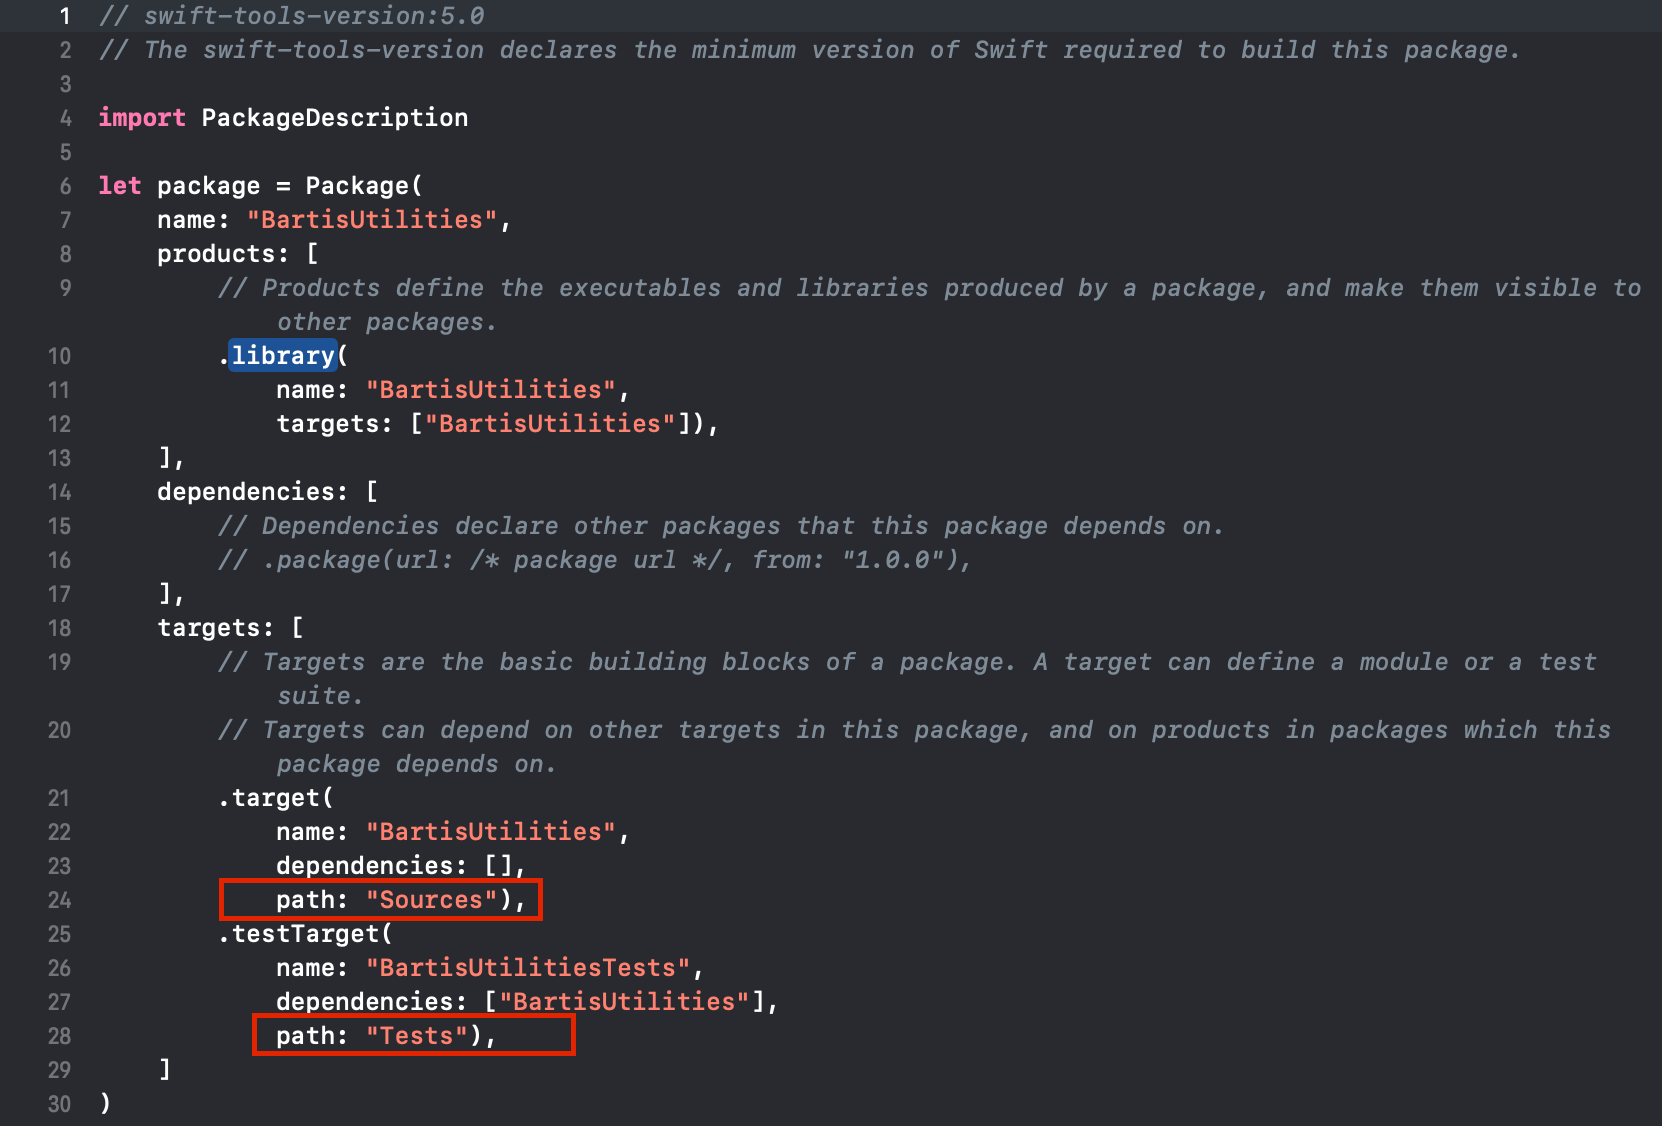
3. b. At this step, if you run into issues generating the new .xcodeproj (as I have the first time I did this), add the path to the source files in the manifest file, in the targets group.

4. Build the newly created scheme MyProject-Package
5. Test the newly created scheme MyProject-Package
If everything is building and testing fine, we’re on to the last part: publishing.
6. Commit. Push. Create a tag for your current version.


Comments
Post a Comment
Please Share Your Views